

Creating a form in GetResponse is simple and useful. Forms help you collect emails and information from people. You can add these forms to your website or share them in emails. This guide will explain how to make a form step by step. Even if you are new, you will understand it easily.
Credit: www.getresponse.com
What Is GetResponse?
GetResponse is an online tool for email marketing. It helps you send emails to many people. You can also build forms, create landing pages, and manage your contacts. The form feature lets you gather data from visitors or customers. This data can be email addresses, names, or other details.
Why Create a Form?
Forms are useful for many reasons:
- Collect email addresses for newsletters
- Get feedback or survey answers
- Allow people to sign up for events
- Gather contact information for sales
With GetResponse, you can create good-looking forms easily. You do not need to know coding or design.
Step-by-Step: How to Create a Form in GetResponse
Follow these simple steps to make your first form.
Step 1: Log In To Your Getresponse Account
Go to the GetResponse website. Enter your email and password. Click the login button. If you do not have an account, you can sign up first.
Step 2: Find The Forms And Surveys Section
After login, look for the menu on the left. Click on “Forms and surveys.” This is where you create new forms.
Step 3: Click “create Form”
On the Forms page, click the button that says “Create Form.”
You will see options to start building your form.
Step 4: Name Your Form
Give your form a name. Use a name that helps you remember the form’s purpose. For example, “Newsletter Sign Up” or “Event Registration.”
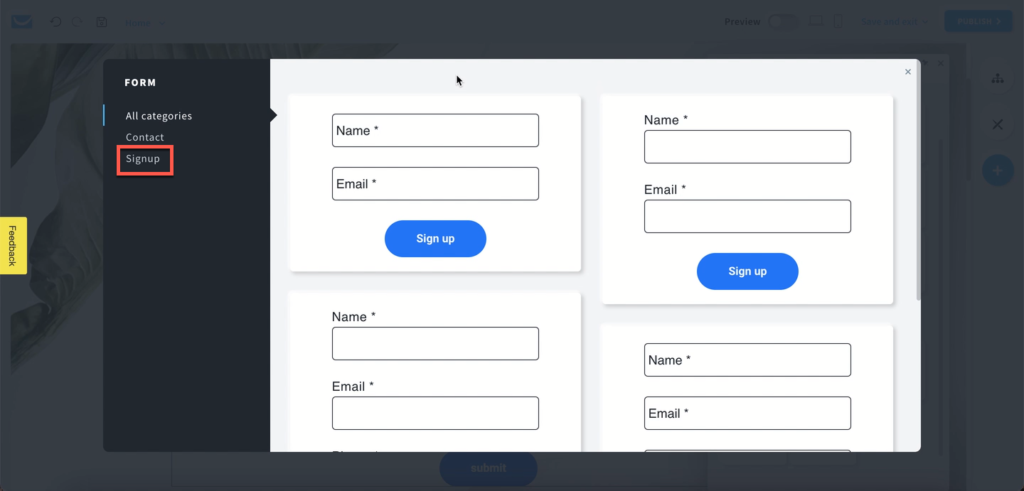
Step 5: Choose A Form Template
GetResponse offers many form templates. These are ready-made designs. Pick one that fits your style.
You can also start with a blank form if you want.
Step 6: Add Form Fields
Fields are boxes where people write their information. Common fields are:
- Name
- Email address
- Phone number
To add a field, click the “Add Field” button. Drag the fields to the form area. You can also remove fields you do not need.
Step 7: Customize The Form
Change colors, fonts, and button text. Use simple colors that match your website or brand.
Write clear instructions. For example, change the button text to “Sign Up” or “Send.”
Step 8: Set Up Form Settings
Click the “Settings” tab. Here you can:
- Choose what happens after someone submits the form
- Send a thank you message
- Redirect to another page
- Enable double opt-in to confirm emails
Double opt-in means the person gets an email to confirm their sign up. This helps keep your list clean.
Step 9: Connect To Your Email List
Choose which email list will store the new contacts. GetResponse lets you manage many lists.
Pick the list that matches your form’s goal. For example, “Newsletter Subscribers.”
Step 10: Save And Publish Your Form
Click the “Save” button to keep your changes. Then click “Publish” to make the form live.
How to Use Your Form
After publishing, GetResponse gives you options to share the form.
Embed On Your Website
GetResponse provides an HTML code. Copy this code. Paste it into your website’s code where you want the form to show.
Use A Link Or Popup
You can share a direct link to the form. Or add a popup form to your site. This can attract more signups.
Share In Emails
Include the form link in your email messages. This invites people to join your list.
Tips for a Good Form
Here are some tips to make your form effective and easy to use:
- Keep the form short. Ask only for needed information.
- Use clear and simple language.
- Make the submit button easy to find.
- Test the form before sharing it widely.
- Make sure the form works on phones and tablets.

Credit: www.youtube.com
Common Problems and Solutions
Sometimes forms do not work as expected. Here are common issues and fixes:
| Problem | Solution |
|---|---|
| Form does not show on website | Check if you copied the code correctly. Paste it in the right place. |
| No new contacts added | Check the form settings. Make sure it is linked to the right list. |
| Emails go to spam | Use double opt-in to confirm emails. Avoid spammy words. |
| Form looks bad on mobile | Use responsive templates. Preview on different devices before publishing. |
Summary
Creating a form in GetResponse is easy. You start by logging in. Then go to “Forms and surveys.” Click “Create Form” and pick a template. Add fields, customize, and set form settings. Link the form to your email list. Save and publish the form. Finally, share your form on your website or by link.
Remember to keep your form simple and clear. Test it before use. This way, you can collect contacts smoothly. GetResponse helps you manage your marketing and grow your list.
Try making your form today. It will help you connect with your audience.
Frequently Asked Questions
How Do I Start Creating A Form In Getresponse?
Log in, go to the Forms section, and click “Create form” to begin.
Can I Customize My Form Design In Getresponse?
Yes, GetResponse offers easy tools to change colors, fonts, and layout.
How To Add Fields To My Getresponse Form?
Use the drag-and-drop editor to add text boxes, checkboxes, and more.
Is It Possible To Set Form Submission Notifications?
Yes, you can enable email alerts for each form submission.